
 Português
1. Introduction
Hello everybody! I will teach you how to do the pixelization effect in Gimp for drawing look like an retro game and will be shown according with the drawing (img. 1) I did in GIMP. This time the tutorial will only in this site instead of video because I’m currently working on another new video for the channel.
Pixelated art of Takery.
2. First step
Well, without further ado, create a new GIMP project!
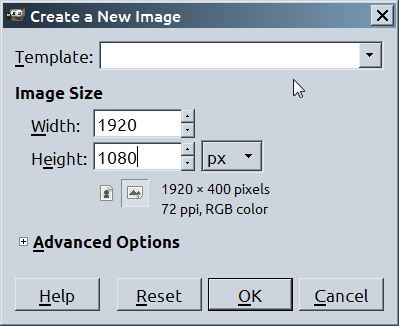
New Image. (File > New)
Create a project with the desired dimensions, in which case I used 1920 x 1080 on my drawing.
3. Drawing
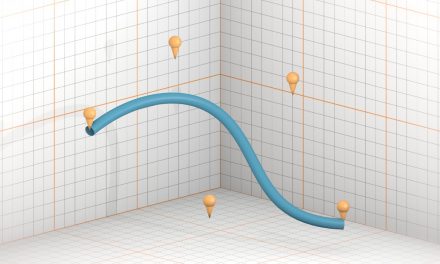
This part is just a quick “making of”. I’ll tell a bit what I did this drawing and it will include the use of Blender software. First I used Blender to render the character with lines and fills Freestyle separately. For the drawing I used, got thickness 5.
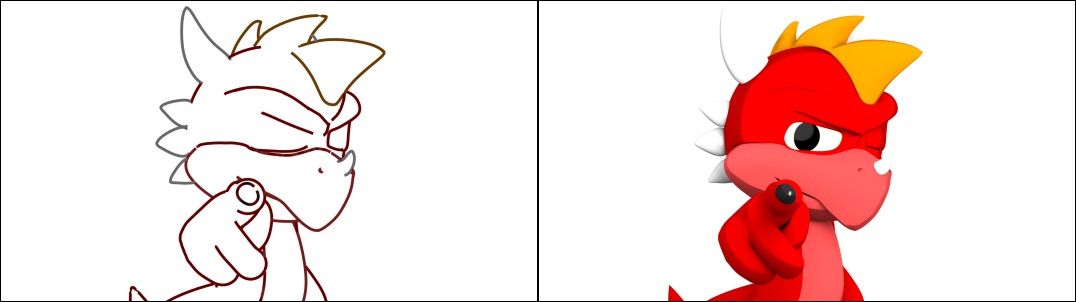
The outline of the Freestyle separated from the filling.
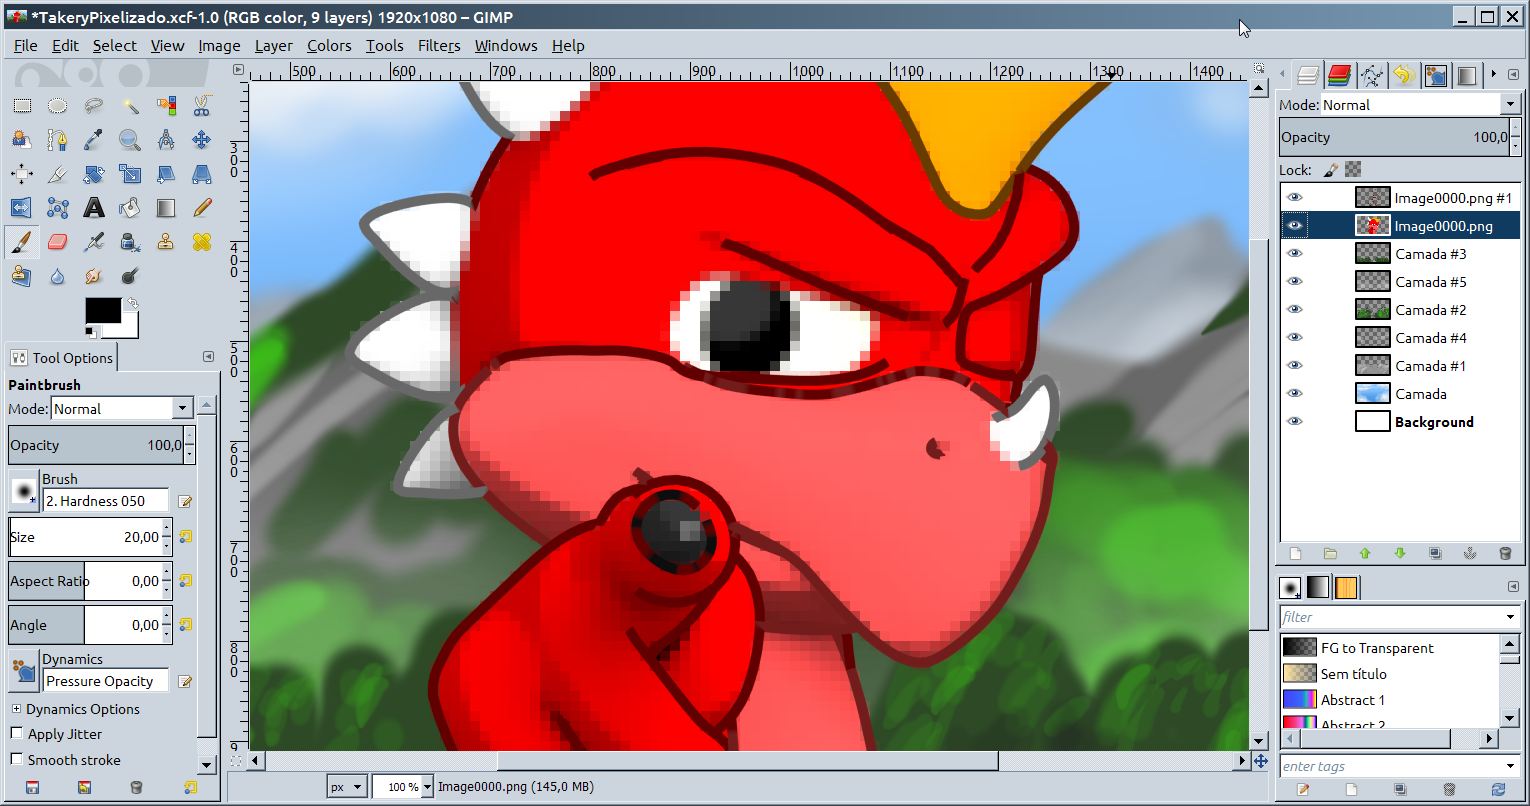
After that, I dragged the two images and fix some traits.
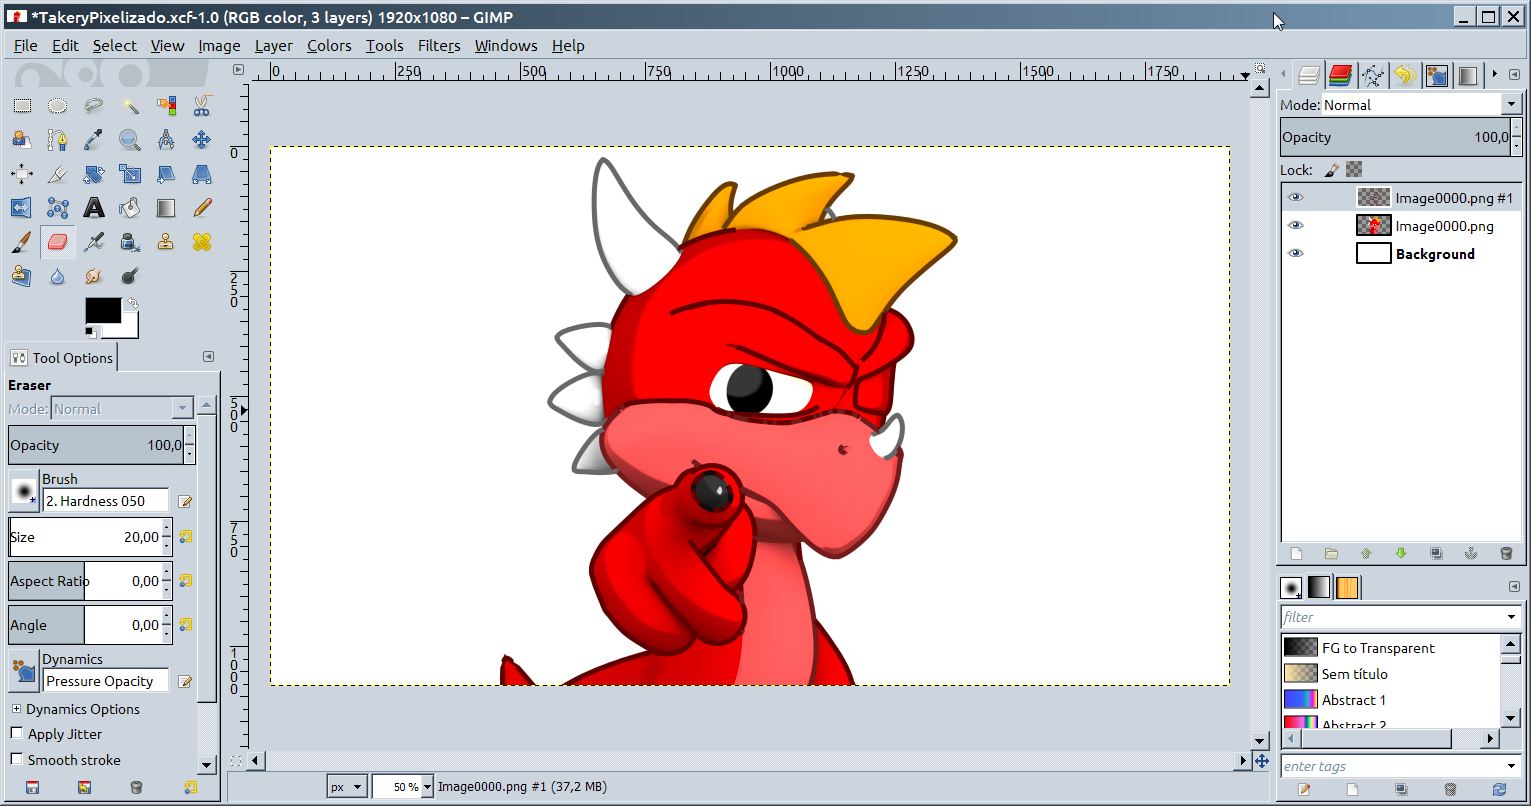
Images inserted in each layer in Gimp.
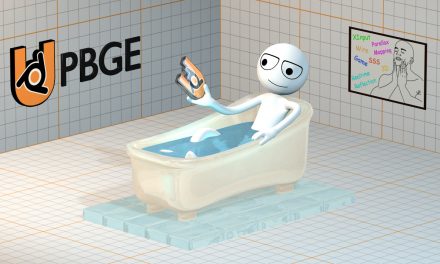
The background, I simply drew the brush behind the character in several layers.
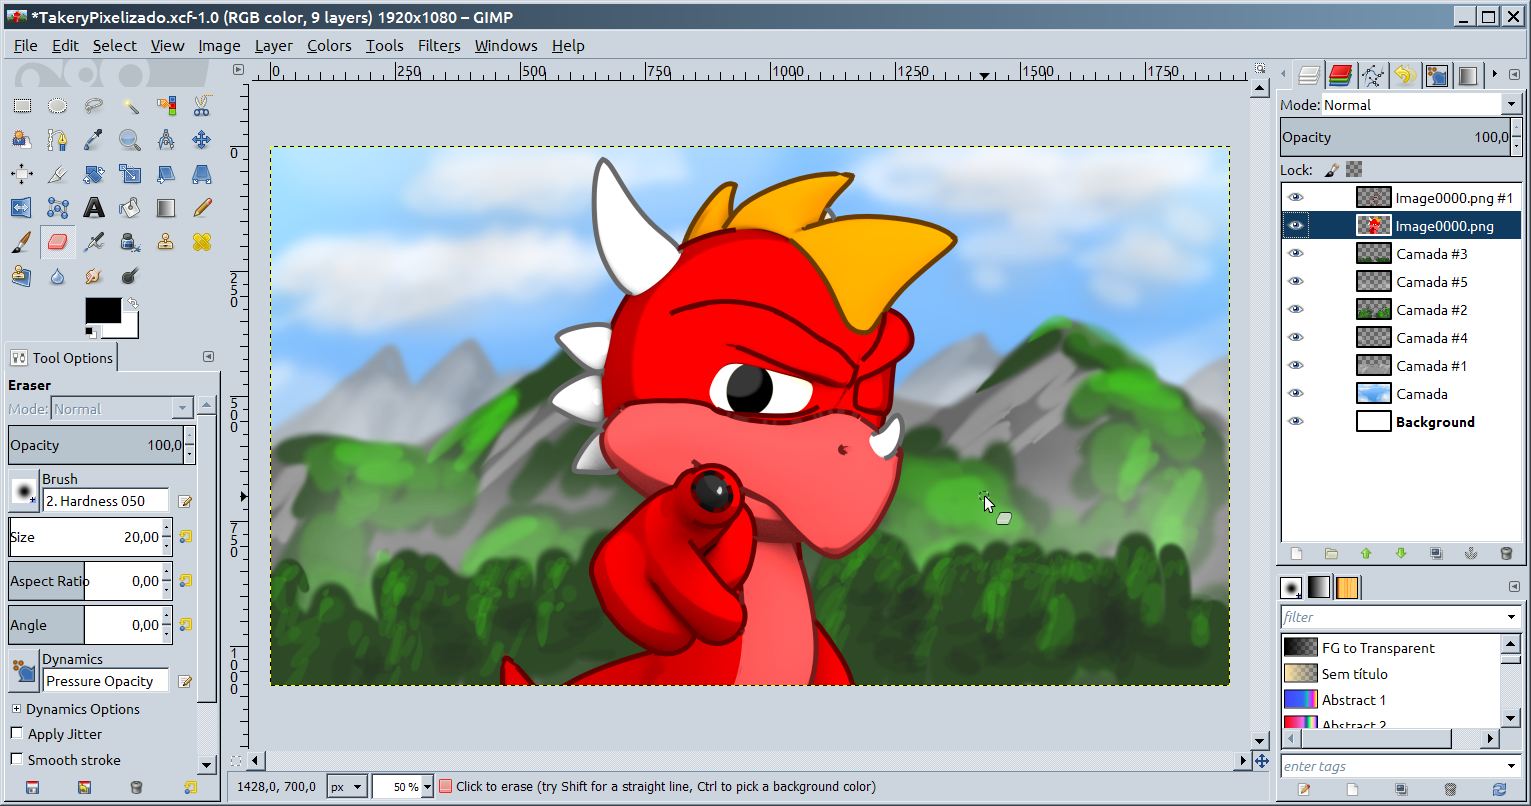
Background drawn.
4. Pixelization
Pixelation is a simple filter that blurs an image in the form of pixel similarly used in Photoshop as “Mosaic” filter. To use this feature, simply access the top menu:
Filters > Blur > Pixelize
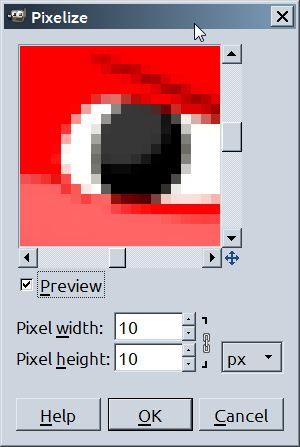
Window of filter Pixelize
In it defines the size of the pixels, both in width and in height. In this tutorial, we will apply this filter with dimensions 10 x 10.
Layer of the filling pixelated.
After that, you can repeat the filter with the same settings by pressing Ctrl+F in each layer. But a question still remains: is more worthwhile Pixelate layer by layer or give the same joining the layers and Pixelate then? So I created a group and booked layers in it, then duplicated and did a Merge the copied group. Then I painted a blue circle on one layer and another red, then cut the top layer. So comparing to conclude that gives the result is the same.

Layer by layer method on the left and merge on the right. There is no difference in the outcome.
5. Final
On the first image shown in the tutorial, we realized that was made a few color adjustments to become more beautiful. So that’s it! Thanks for reading and I hope you enjoyed this tutorial.
This tutorial was made to order William Sakai of the Community Blender Brasil, so stay special thanks to William! 😀
